DIY Light Fixture Facelift
This weekend we tackled a brassy light fixture and gave it a whole new life!
If you’re happy with the style and shape of light fixtures in your home, giving them a facelift can be as simple as a can (or two) of spray paint! Save yourself a whole bunch of time and hassle (shopping for new light fixtures). This is one do-it-yourself (DIY) project that you can tackle, with a little time on your hands.
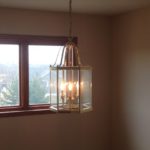
- BRASSY BEFORE
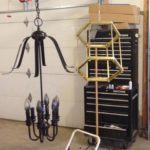
- Painting
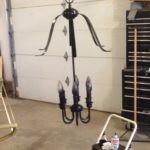
- Painting Progress
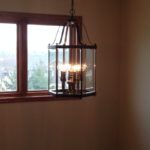
- UPDATED AFTER
DIY Light Fixture Facelift Steps
1.) Remove fixture
The first step (obviously) is to remove the fixture from its existing “home” and remove the glass panels (if glass panels exist).
2.) Dust be gone!
Be sure to clean the dust off the fixture, as the paint will not adhere to a dirty fixture.
3.) Scuff the metal
Use a metal finishing pad to scuff the metal so that the paint adheres to the fixture, once sprayed.
4.) Wipe down
Be sure to wipe everything down on the fixture with a tack cloth, again, to be sure it’s free of dirt and metal (from scuffing).
5.) Paint it
When prepping to paint, be sure to shake the spray paint can vigourously first. When you’re ready to begin painting, begin spraying in long, even, smooth strokes so that the paint doesn’t clump in one area. Allow to dry for some time.
6.) Clean glass panels & reassemble
Once everything is dry, put the glass panels back in (if existing) & put the fixture back together.
7.) Old becomes NEW
Hang the fixture, install new light bulbs and enjoy your cost savings!
Project (start to finish) Time:
It took us about two hours from the time we took the light fixture down to when it was hung back up and working.
Costs:
$3.99 for metal finishing pad (used to prep the brass for paint)
$2.99 for tack cloth (wiped fixture down before painting)
$4.99 for can of Krylon bronze metallic paint
$8.00 for new round bulbs


